|   |
| |
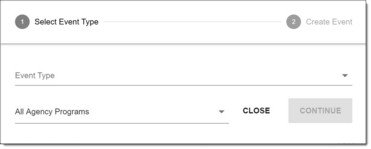
To schedule a job interview for a client from within the Calendar, complete the following steps:
![]() TIP: In order to schedule job interviews, you must have the following permissions:
TIP: In order to schedule job interviews, you must have the following permissions:
Display Any Chart Records Buttons
Display Chart Records Employment Button
![]() TIP: Job interview records can also be entered and updated using the Employment > Jobs > Job Interviews feature.
TIP: Job interview records can also be entered and updated using the Employment > Jobs > Job Interviews feature.
The scheduling pop-up is displayed.
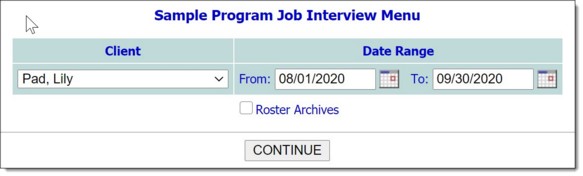
![]() TIP: If the interview to be scheduled is for a former (discharged) client, first click Roster Archives beneath the client selection option.
TIP: If the interview to be scheduled is for a former (discharged) client, first click Roster Archives beneath the client selection option.
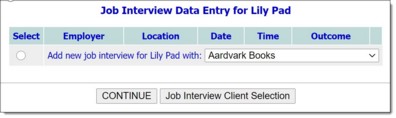
![]() TIP: If the appropriate employer is not listed, use the Employers feature to create a new employer record. Once that record has been created, return to the Calendar or Job Interviews feature where the new employer will now be available for selection.
TIP: If the appropriate employer is not listed, use the Employers feature to create a new employer record. Once that record has been created, return to the Calendar or Job Interviews feature where the new employer will now be available for selection.
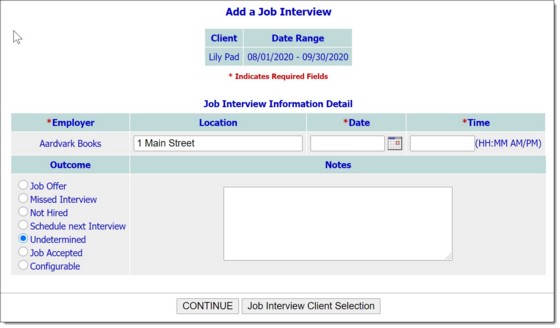
The process of scheduling a job interview is now complete.
https://demodb.footholdtechnology.com/help/?12368
