|   |
| |
Any user with access to the Operations module can create a new ticket using the ResourceTracker. To do so, complete the following steps from the AWARDS Home screen:
![]() IMPORTANT! Ticket forms are highly configurable; as a result, labels mentioned in the instructions below may vary from those in AWARDS.
IMPORTANT! Ticket forms are highly configurable; as a result, labels mentioned in the instructions below may vary from those in AWARDS.
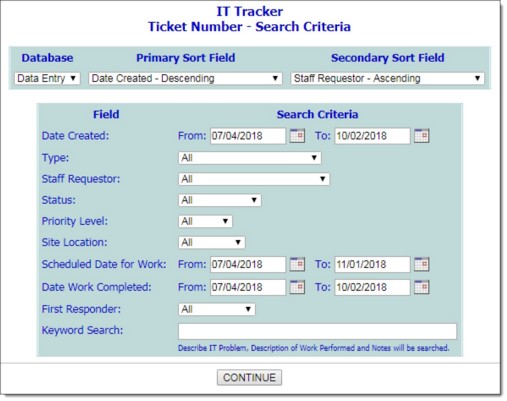
If you are taken to this Search Criteria page, continue with step 3. Otherwise, you are taken to the Data Entry Index page and should continue with step 5.

![]() TIP: Fields and options marked with red asterisks (*) are required, and any conditional components of the requirements are noted in red text next to the asterisks.
TIP: Fields and options marked with red asterisks (*) are required, and any conditional components of the requirements are noted in red text next to the asterisks.
The basic fields and options included on this form are as follows, though some may not be available for data entry based on user access and configuration settings:
|
Brief Description of Work Requested |
Work Category |
|
Status |
Priority |
|
Requesting Site / Location |
Scheduled Work Date |
|
Date Work Completed |
Responder and Additional Responder |
|
Material Cost |
Labor Hours |
|
Description of Work Performed |
Notes |
![]() TIP: If a Requesting Site/Location is selected from the corresponding drop-down list, and text is also entered into the adjacent field, only the text entered in the field is retained when the ticket is saved. The purpose of the field is to allow users to enter a location not included on the drop-down list.
TIP: If a Requesting Site/Location is selected from the corresponding drop-down list, and text is also entered into the adjacent field, only the text entered in the field is retained when the ticket is saved. The purpose of the field is to allow users to enter a location not included on the drop-down list.
![]() NOTE: At this time a system generated message for the ticket is sent to the requestor and users with the ResourceTracker Messages internal audit message permission.
NOTE: At this time a system generated message for the ticket is sent to the requestor and users with the ResourceTracker Messages internal audit message permission.
The process of creating a new ticket is now complete.
https://demodb.footholdtechnology.com/help/?11517
