|   |
| |
To enter, update, or delete advance directives information, complete the following steps from the AWARDS Home screen:
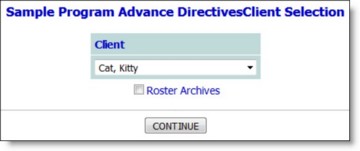
![]() TIP: If the information to be worked with is for a former (discharged) client, first click Roster Archives beneath the client selection list.
TIP: If the information to be worked with is for a former (discharged) client, first click Roster Archives beneath the client selection list.
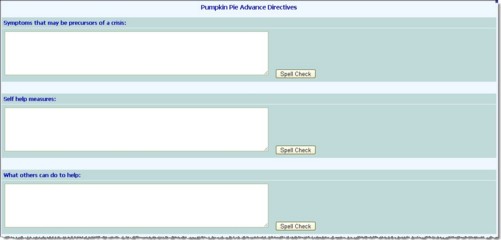
![]() Symptoms that may be precursors of a crisis
Symptoms that may be precursors of a crisis
![]() Self help measures
Self help measures
![]() What others can do to help
What others can do to help
![]() Hospital of choice
Hospital of choice
![]() Funeral home of choice
Funeral home of choice
![]() Burial wishes
Burial wishes
![]() TIP: To make additional changes to the advance directives at this time, click Return to Data Entry to return to the Advance Directives page.
TIP: To make additional changes to the advance directives at this time, click Return to Data Entry to return to the Advance Directives page.
The process of entering/updating advance directives information is now complete.
https://demodb.footholdtechnology.com/help/?10233
