|   |
| |
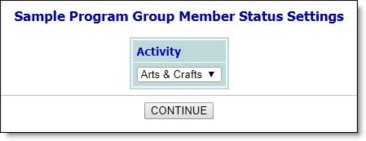
To enter or update a group activity's membership information, complete the following steps from the AWARDS Home screen:
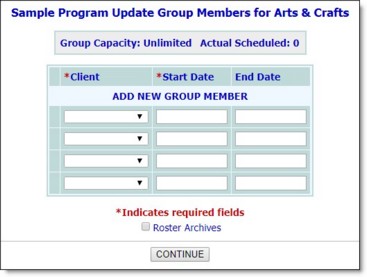
![]() Add a new group member - To do so, click the Client drop-down arrow and select the new group member, then type his or her activity start date in the corresponding Start Date field (using mm/dd/yyyy format).
Add a new group member - To do so, click the Client drop-down arrow and select the new group member, then type his or her activity start date in the corresponding Start Date field (using mm/dd/yyyy format).
![]() Update the status of an existing group member - To do so, make changes to the client's activity start date as necessary, and/or enter a date in the End Date field (using mm/dd/yyyy format) to indicate that he or she is no longer a member of the selected group.
Update the status of an existing group member - To do so, make changes to the client's activity start date as necessary, and/or enter a date in the End Date field (using mm/dd/yyyy format) to indicate that he or she is no longer a member of the selected group.
![]() Remove a group member record - To do so, click the Delete checkbox next to the client whose record is to be removed from the group membership list.
Remove a group member record - To do so, click the Delete checkbox next to the client whose record is to be removed from the group membership list.
![]() TIP: To make further changes or additions to the group membership information, click DATA ENTRY to return to the Update Group Members page.
TIP: To make further changes or additions to the group membership information, click DATA ENTRY to return to the Update Group Members page.
The process of updating a group activity's membership information is now complete.
https://demodb.footholdtechnology.com/help/?10390
